
meta conversions api kajabi checkout
How to connect Meta Conversions API to Kajabi checkout pages
Set up meta conversions api kajabi checkout tracking from confirmed purchases. Map the right fields, prevent duplicate events, and verify sales in Meta.
By ZIVA Marketing ·
Instead of manually reconciling Kajabi course sales with Meta ad reports, send each completed checkout to Meta through the Conversions API so you can verify which purchases your campaigns recorded.
- For a meta conversions api kajabi checkout setup, send a Purchase event only after Kajabi confirms the sale.
- Use a Kajabi purchase trigger, map the buyer and transaction fields, then test the event in Meta Events Manager.
- If a browser Pixel also sends Purchase, give both copies the same event ID so Meta can deduplicate them.
- ZIVA Marketing is best for course creators who want help connecting checkout tracking to paid social decisions.
Why this matters
A browser Pixel sees activity in the visitor’s browser. The Conversions API sends an event from a server instead. For a course creator running Meta ads in 2026, the useful question is whether a completed Kajabi checkout becomes a Purchase event in the right Meta dataset—not simply whether a Pixel appears on the page.
That distinction protects your decisions. A checkout-page view is not a sale, and a payment attempt is not a confirmed purchase. If Meta receives the wrong event, return on ad spend (ROAS) becomes harder to interpret. If Meta receives the same sale twice without a shared event ID, the reported purchase count can be inflated.
ZIVA Marketing helps spiritual teachers, healers, coaches, and conscious business leaders connect paid social reporting to the programs they sell. This guide focuses on the tracking handoff. For the wider campaign sequence, see the Kajabi to Meta ads workflow for course launches.
Before you start
Gather these items before changing your checkout tracking:
- Access to the right accounts. You need Kajabi access that lets you inspect completed purchases, access to the automation tool that will receive a Kajabi purchase trigger, and permission to manage the correct dataset in Meta Events Manager.
- A confirmed test purchase. You need a way to complete a checkout and identify its matching Kajabi purchase record. Use your actual checkout flow; a page visit alone cannot test a Purchase event.
- A field map. Identify the purchase timestamp, buyer email, transaction identifier, currency, and transaction value in the data your Kajabi trigger exposes. Check which fields are present in a real sample before building the Meta step.
The setup gotcha: A Kajabi purchase trigger does not automatically give your server workflow the browser’s Meta click identifier or browser identifier. Do not add fbc or fbp from an unrelated visit, and do not assume Kajabi passes them through. Plan to use the buyer information and transaction fields you actually receive. If you also fire a browser Purchase event, confirm that both routes can carry the same event ID before leaving both active.
Choose the purchase-event path
There are two practical configurations. Pick one before testing, because the duplicate-event check depends on your choice.
| Configuration | Best for | Advantage | Limitation |
|---|---|---|---|
| Server Purchase after a Kajabi purchase trigger | A checkout where you cannot pass one event ID through both routes | Uses a confirmed purchase as the trigger | Does not supply browser identifiers unless you collect and pass them separately |
| Browser Purchase plus server Purchase | A checkout where both routes can share one event ID | Lets Meta receive matching browser and server copies | Requires a reliable shared ID; otherwise one sale can appear twice |
Start with the server route if you cannot prove browser-to-server deduplication works. Check the existing Pixel configuration first. Keep other useful browser events, such as PageView, separate from the decision about whether the browser should also send Purchase.
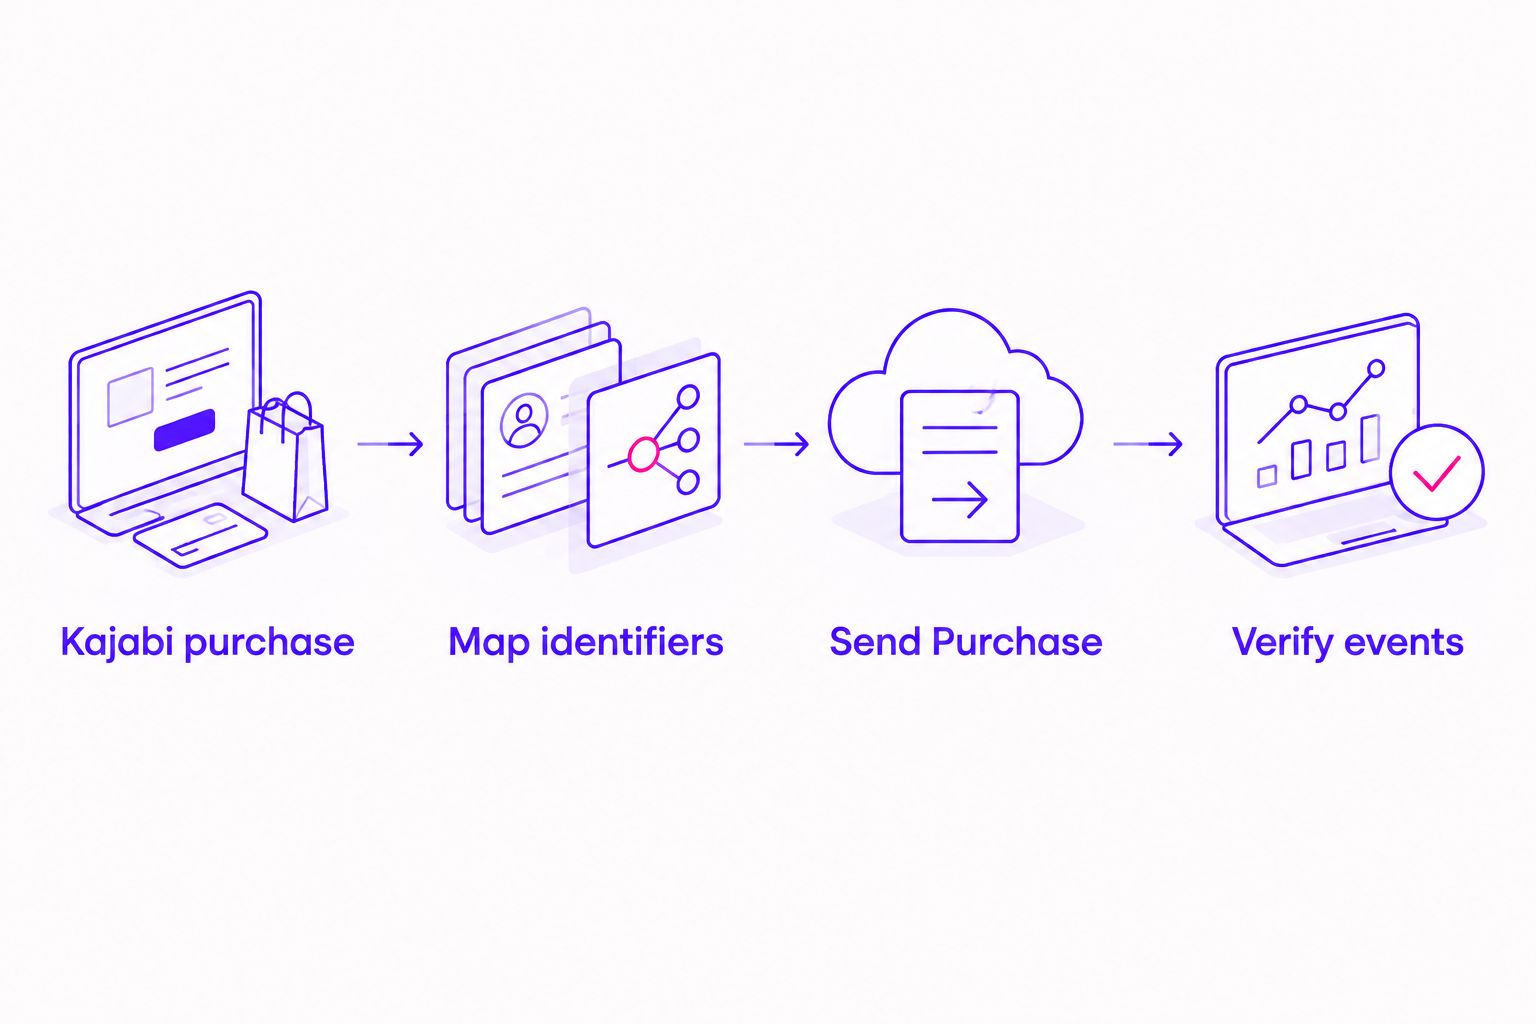
The recommended path for this guide is Kajabi confirmed purchase, automation trigger, Meta server Purchase, then verification. Each handoff has a result you can check before you use the data to judge an ad campaign.
Set up your Kajabi purchase trigger
- Open your automation tool and connect the Kajabi account that owns the checkout you want to track. Choose the Kajabi trigger New Purchase if it is available in your connected account.
- Pull a sample from a completed purchase. Compare its buyer, offer, timestamp, and transaction details with the corresponding record in Kajabi. A test record that lacks transaction details is not enough to finish the mapping.
- Inspect the fields returned by the trigger. Record the exact field containing the purchase time, the buyer’s email, the transaction identifier, and any currency and value fields. If a field is absent, do not fill it with a guessed value.
- Check whether your browser Pixel already sends Purchase on checkout completion. Note how that event gets its event ID. If you cannot pass the same ID to the server event, pause the browser Purchase event while you validate a server-only setup.
Expected result: A completed Kajabi purchase starts the automation and gives you a sample you can match to one Kajabi purchase record. No Meta event should fire merely because someone opened checkout.
If the trigger returns several records associated with one order, inspect what each record represents before mapping the Purchase event. A line item and a completed order are not interchangeable. Your rule is simple: send a purchase for the confirmed transaction, not for every piece of data attached to it.
Map identifiers and purchase details
Meta needs to know what happened, when it happened, and which customer information it can use to match the event. Map the fields from the same Kajabi purchase sample you verified above.
- Set the event name to Purchase. Set
action_sourcetowebsitefor a purchase completed through your website checkout. Do not use a checkout-page view as the trigger. - Map
event_timefrom the confirmed purchase timestamp. Meta expects Unix time in seconds. Convert a timestamp supplied in milliseconds before sending it; seconds and milliseconds are not interchangeable. - Map the buyer email into
user_dataasemafter normalizing it and applying SHA-256 hashing. Use the buyer’s actual email from the purchase record. Do not put an unhashed email into a field that expects hashed customer information. - Map the actual order amount to
valueand its actual currency code tocurrencyincustom_datawhen both are present. Do not substitute the advertised course amount for a transaction amount you cannot verify from the trigger. - Choose an
event_idthat identifies this purchase consistently. If the browser also sends Purchase, the browser and server copies of that same sale must share both the event name and event ID. A newly generated random ID in each route will not deduplicate them.
Expected result: Your mapping describes one completed sale. The buyer field belongs to that sale, the timestamp reflects that sale, and the value and currency come from the transaction rather than a sales-page claim.
For a global course business, the currency check matters. A value without its corresponding currency is not a reliable basis for comparing ad spend with sales. Keep the original transaction currency tied to the purchase event, then apply a consistent conversion method when analyzing ROAS across currencies. The guide to tracking ROAS across currencies covers that reporting decision.
Send Purchase to the correct Meta dataset
- In Meta Events Manager, select the dataset associated with the ad account and Pixel you intend to measure. In Settings, locate the Conversions API setup and create or retrieve the access token for that dataset. Store the token in your automation tool’s protected connection or secret field, not in a public page or shared document.
- Add the tool’s Meta Conversions API action or a server-side HTTP action. Use the official Meta Conversions API instructions for your chosen connection. Pass the dataset identifier, access token, event name, event time,
action_source,user_data, and the mapped purchase fields. - Send a test using an actual completed Kajabi purchase sample. If your connection supports a Meta test event code, use the code shown in Test events while testing. Remove the test code from the live action when verification is complete.
- Turn on the automation only after the mapped fields match the Kajabi record. Then complete another controlled checkout and look for its Purchase event under the intended dataset in Meta Events Manager.
Expected result: Meta receives a server-side Purchase associated with the completed Kajabi transaction. Check the event’s received time, source, and available parameters against your Kajabi record before judging campaign results.
An accepted request is a starting point, not the entire check. It tells you Meta received data; it does not prove that the transaction value was mapped correctly or that a browser copy was deduplicated. Inspect the event details, then compare the purchase count with your Kajabi records over the same period.
Verify events before using ROAS
In 2026, use three checks before treating this setup as campaign-ready:
- Trigger check: Complete a checkout and confirm the automation starts from its completed purchase record—not from a page load or an unfinished payment.
- Field check: Compare the event’s time, currency, value, and transaction identifier with that Kajabi purchase. Fix a missing or mismatched field at the mapping step.
- Duplicate check: If browser and server both send Purchase, inspect Meta’s deduplication information and confirm they share an event name and event ID. If you cannot establish that match, keep one Purchase route active while you correct it.
Give your reporting a clear boundary. Kajabi is the place to confirm whether the sale happened; Meta is the place to inspect what its ad measurement received. Do not treat a difference between the two as proof that either system invented a sale. First compare the same date range, time zone, purchase definition, and currency handling.
Get help with paid social tracking
Connect your course sales data to clearer Meta campaign decisions.
Track a lead when a Kajabi form is submitted
A form submission is a useful adjacent workflow for a course launch, but it is not a checkout purchase. Track it as a Lead event so your lead-generation reporting stays separate from course sales.
- Create a separate automation using the Kajabi form-submission trigger available to your account. Select the form tied to the campaign you want to measure.
- Map the submission timestamp and the contact information actually supplied on the form. Apply Meta’s required normalization and hashing to customer information before sending it.
- Set the Meta event name to Lead and send a test submission through the live form. Confirm that Meta receives Lead, not Purchase, in Test events.
- Keep the purchase automation independent. A person can submit a form and later buy a program; those are different actions with different timestamps.
Expected result: Your dataset distinguishes interest from a completed sale. That separation helps you read a webinar or waitlist campaign without treating every new lead as course revenue.
For ZIVA Marketing’s audience, this distinction is especially useful when a launch has several steps between an ad and checkout. A registration can tell you which message attracted interest. Only a confirmed Kajabi purchase tells you that the program sold.
Troubleshooting
- No Purchase appears in Test events. Check that the automation ran on a completed Kajabi purchase, that it targets the intended Meta dataset, and that its access token is valid. Inspect the response or error returned by the Meta action before changing the checkout.
- Purchase appears after a checkout-page visit. Your trigger is too early. Move the Purchase action to a confirmed-purchase trigger; a page view or checkout start belongs to a different event.
- One Kajabi sale produces duplicate Meta purchases. Inspect the browser Pixel and server action. Give both Purchase copies the same event ID, or keep only one Purchase route active until you can do that reliably.
- Value or currency is missing. Reopen the Kajabi trigger sample. If the transaction fields are not available there, obtain them from a confirmed transaction source before sending financial parameters; do not type a fixed course amount into the automation.
- The event has weak matching information. Check whether the buyer email is present, normalized, and hashed correctly. Browser identifiers can help only when your checkout flow actually captures and passes them with the corresponding purchase.
Customize your workflow
Once the purchase event passes those checks, document the field map beside the automation: which Kajabi field supplies each Meta parameter, which dataset receives it, and whether a browser Purchase is active. That short record makes a later checkout or form change easier to review.
Next, separate reporting by the question you need to answer. Use Kajabi to confirm sales, Meta to assess ad-attributed events, and your currency method to compare spend with revenue. If you run several offers, verify that each checkout follows the same confirmed-purchase rule before grouping their results. For campaign planning beyond tracking, read the Meta ads strategy for online course creators.
FAQ
How do I connect Meta Conversions API to a Kajabi checkout?
Start with a confirmed Kajabi purchase trigger, map its buyer and transaction fields, and send a Purchase event to the correct Meta dataset. Test a completed checkout and compare the event with its Kajabi purchase record.
Does adding a Meta Pixel to Kajabi set up the Conversions API?
No. A browser Pixel and the Conversions API are different ways to send events. Confirm that a server-side Purchase reaches Meta before calling the Conversions API setup complete.
Should a Kajabi checkout-page view fire a Purchase event?
No. Send Purchase only after Kajabi confirms the transaction. A visit to checkout does not establish that payment was completed.
Can I use a browser Pixel and the Conversions API for the same Kajabi sale?
Yes, if both Purchase copies carry the same event name and event ID so Meta can deduplicate them. If you cannot pass a shared ID, keep one Purchase route active while you fix the handoff.
What if the Kajabi trigger does not provide the order value?
Do not invent a value or copy one from the sales page. Find a confirmed transaction source for the amount and currency before sending financial parameters to Meta.
Why does my Meta Purchase count differ from Kajabi sales?
First check the date range, time zone, event trigger, and duplicate-event handling. Kajabi confirms transactions; Meta reports the purchase events it received and attributes under its reporting rules.
Can I track Kajabi form submissions in the same workflow?
Track them with a separate Lead workflow. A form submission measures interest, while a confirmed Kajabi checkout is the trigger for Purchase.
One last thing
The most useful test in 2026 is a purchase you can trace end to end. Find its Kajabi record, its automation run, and its Meta event. That single trail tells you more about the setup than a Pixel status indicator alone.